How to Go back from High Sierra to Sierra without Data Loss?
Part 1. Why do You Downgrade macOS High Sierra?

As with most technological advancements, immediately after the buzz and yielding to the hype of certain new gadgets, features, apps or operating features, we easily get bored, annoyed or outrightly regret being over expectant of the promised deliverables. We have gleaned and highlighted some of the most common reasons why users inquired the “how to downgrade from high sierra” issue below:
1. macOS Sierra Tested Apps
Certain Mac users frequently engage in testing apps and this often leaves them latched onto a particular OS, hence having applications that are compatible only with that OS e.g. macOS Sierra. These users would ultimately not be open to searching for other High Sierra compatible applications, instead, they would research how to downgrade from high sierra.
Alternatively, there is another approach to solving this downgrading issue, to allow for dual use of both the Sierra and High Sierra. It is possible to establish dual boot on your Mac which enables your device run both operating systems simultaneously. Sadly, this could be considered too cumbersome for the majority of Mac users.
2. MacOS High Sierra Beta was an overkill
Most users that used the Bet version encountered countless bugs and glitches that became so complicated and deterred them from partaking any further. Moreover, the constant glitches led various apps to malfunction and “have a mind of their own” which makes achieving any valuable result practically impossible.
3. High Sierra’s non-support of 32-bits architecture apps
The third reason users cite as their reason for requesting how to downgrade from high sierra is owed to the non-support of 32-bit architecture applications starting with the macOS High Sierra release. Some users complain of their favorite or most needed applications being stuck in the 32-bits framework, hence fueling their move to downgrade.
Part 2. How to Downgrade from macOS High Sierra to Sierra?
The first and critical step every Mac user must take before proceeding with the downgrade to Mac Sierra is that you must back up your Mac via the Time Machine.
Back up Mac on Time Machine
1. Click the Apple Menu.
2. Select System Preferences.
3. Click the Time Machine tab.

Once your downgrade is completed, your data can be restored onto your Mac from the Time Machine. To downgrade the macOS, click the following:
Erase macOS High Sierra
Follow the steps below:
1. In the top-left screen corner, tap the Apple icon and choose the Restart option.
2. While your Mac proceeds with the restart, long press Command + R.
3. When the OS X Utilities pops up, select the Disk Utility option.
4. Choose Continue then select Startup Disk from the following prompt.
5. Hereafter, select the Erase option. Afterward, input the name of the file to be deleted with your keyboard e.g. macOS High Sierra.
6. In the Format list that appears, choose Mac OS Extended and tap Erase.

Exit the Disk Utility once done with the erase and proceed to the next procedure.
Reinstall macOS Sierra
1. On your macOS Sierra Installer, select the OS X Utilities.
2. Select the Reinstall OS X option and click Continue to commence the reinstallation.

Once the terms and conditions appear, agree with them and complete the reinstallation.
Restore Time Machine Data to your Mac
Once your Mac has finished the reinstallation, it would restart automatically. Follow the following procedure to proceed with the “how to downgrade from high sierra” solution.
1. Initiate a Mac restart, during which you long press the Command + R buttons.
2. Access the OS X Utilities menu and select the Time Machine Backup. Click Restore and Continue.
3. Read the Restore Your System page, tap Continue.
4. Select the Time Machine Backup and tap Continue.
5. Choose your most up-to-date backup and tap Continue.

Part 3: How to Rollback further from macOS High Sierra?
To downgrade or roll back your macOS to a version prior to Sierra, you would need to have backed up the previous version using your Time Machine. This backing up method is highly recommended to Mac users as it saves a ton of future frustration and annoyance. To proceed with the downgrade, follow the steps below:
1. While restarting your Mac, long press Command + R.
2. Tap the “Restore from a Time Machine Backup” from the Disk Utility option.
3. Select your preferred Time Machine Backup disk and target disk.
4. Follow the prompts by clicking Continue.
It is important to note that the downgrading process is usually time-consuming and would require a great deal of patience from users. Although the link to download Sierra would most often not be on your purchased list, Apple maintains a somewhat covert link to the Sierra macOS to cater for users experiencing irreconcilable issues when trying to run the macOS High Sierra.
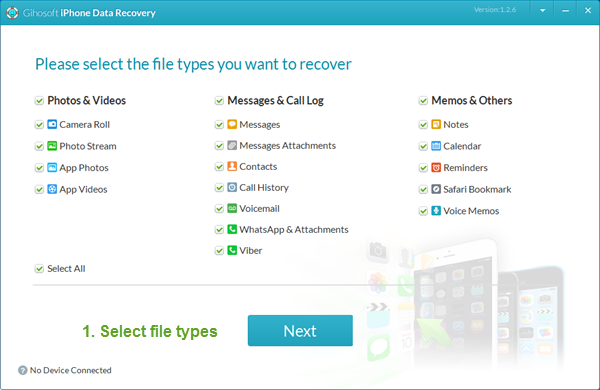 If you lost videos from iOS Camerall Roll which are nowhere to download again, you can use Gihosoft iPhone Data Recovery to get back deleted videos from iOS device including iPhone, iPad and iPod Touch.
No comments:
Post a Comment